Today we’re sharing how to perform an ovate pontic procedure on Kenny, who is missing his maxillary right canine. After this procedure, he will have a Zirconia bridge that will look much more natural. Traditionally, there were two options for bridges, and neither of them looked natural. The first, a ridge lap, looked like we glued a tooth to the front of the ridge, and is what Kenny had. The second option, a saddle pontic, created a concavity that turned into a plaque trap and was difficult to clean.
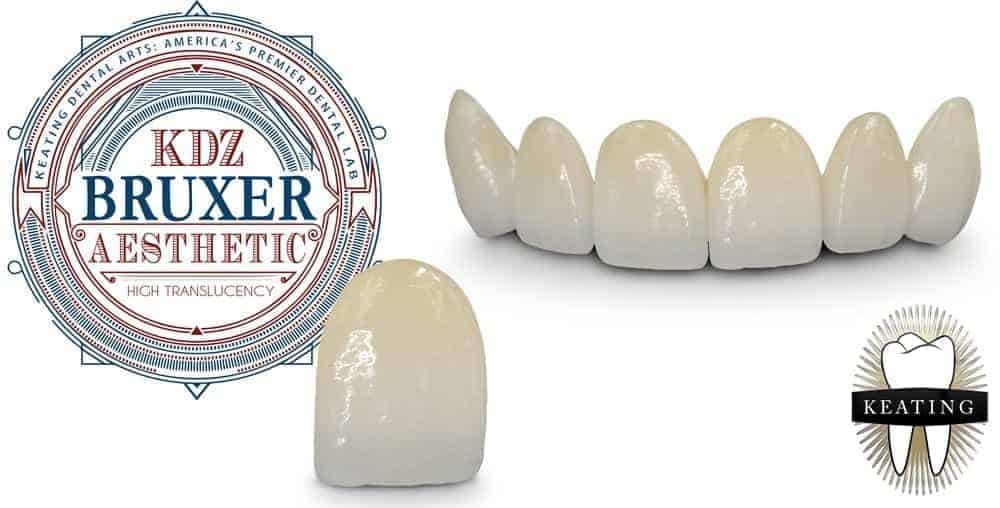
Visit the KDZ Bruxer® Aesthetic Product Page: www.kdzaesthetic.com
Performing an Ovate Pontic with a Diode Dental Laser
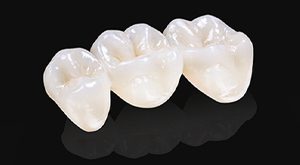
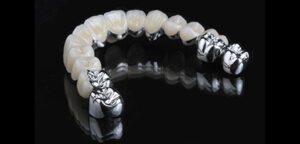
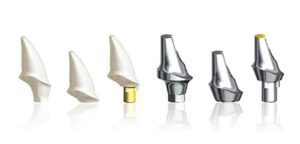
In this video, we’re showing how to create the ovate pontic site, where we’ll place the Zirconia bridge, in this case the KDZ Bruxer® Aesthetic. This means we’re creating the coronal aspect of the tooth as well as part of the root. This means the pontic will look very natural and appear as if it’s growing out of the gum like a natural tooth. This pontic also has all positive, or convex, contours like an egg, so it’s much easier to clean.
Learn more reading other articles at our blog: What Is Digital Dentistry?
Preparing for An Ovate Pontic
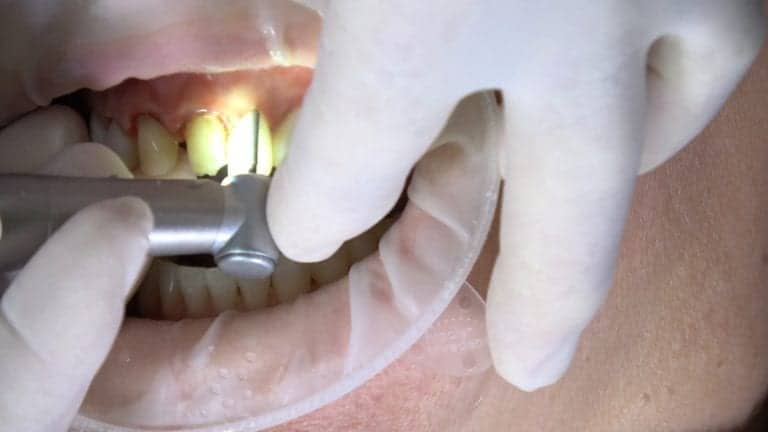
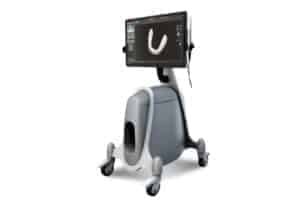
To begin the ovate pontic procedure, we’re going to get our diode ready. We’re using AMD Laser’s Picasso Lite, which is a soft-tissue cutting laser. Because this procedure involves using a laser, everyone will be wearing protective glasses or loupes; you’ll want to ensure these are rated for the type of laser you’re using. And because we’re using this diode laser, Kenny will have very little post-operative pain.
Diode lasers are attracted to dark pigmentation; the higher the melanin the lower the power needed. As he’s Vietnamese, Kenny has a higher level of melanin in his tissue, so we’re going to start at 1.2 watts. This is fairly low for this type of laser, and you can increase the power if needed later on.
Read also: New Technology In Dentistry: Embrace The Latest Technologies In You Practices
The Goal While Creating the Pontic Site
We want to visualize where the tooth would be exiting the tissue, and this is especially helpful if you’re a visual person. If there were a tooth in this space, where would the edges be? The edges won’t be on the facial side, it’s going to be in the center of the ridge. Then, we’ll begin by outlining the pontic. Beginning with the outline will give you the chance to see exactly where you need to cut to create the pontic site, then finish by deepening the site to the desired depth.
Listen to our podcast: New Technology, New Opportunities With Dr. Eric Veenstra
Creating the Pontic Site
When you begin to outline the pontic site, keep in mind the diameter of the route. After beginning, Dr. Hornbrook bumps up the Picasso Lite’s power to 1.5 watts, for better power and control when creating the pontic site. Imagine you’re creating a socket for an egg to sit in, and the apex of the egg needs to be right on the ridge. By setting the pontic site on the ridge instead of in front, you’re creating a space for the zirconia bridge that will look very natural and will blend with the natural teeth.
Because we’re using a low energy laser, the tissue will heal quickly and the tissue will remain in place. Then, we’ll create a provisional to maintain that site. A common mistake during an ovate pontic is making the pontic spot too small. Typically, Dr. Hornbrook will go two to three millimeters deep, which results in a natural-looking finish.
Watch similar videos at our website: Frenectomy With A Diode Laser Procedure Video
Finishing the Pontic Design
Facially, we’re going to bring up the apex of the tissue up to where we want the canine to be, which is slightly higher than lateral. Once we hit the desired depth, the focus is then to clean up the pontic site, specifically the laser char, which can be cleaned up with some hydrogen peroxide. Once the cleanup is finished, a provisional will be placed to maintain the pontic site.
Watch also: E.Max Veneer Removal With Hard Tissue Dental Laser
By using a diode laser for an ovate pontic, there is no post-operative pain and the tissue maintains the original shape we crated. We’ll be back in our next video to place the KDZ Bruxer® Aesthetic bridge and sharing how we’ll finish up this case.
Click here for more information on the KDZ Bruxer® Aesthetic.
Product Spotlight: Ovate Pontic with KDZ Bruxer® Aesthetic
Discover our new high translucency zirconia: https://keatingdentallab.com/kdz-bruxer-aesthetic